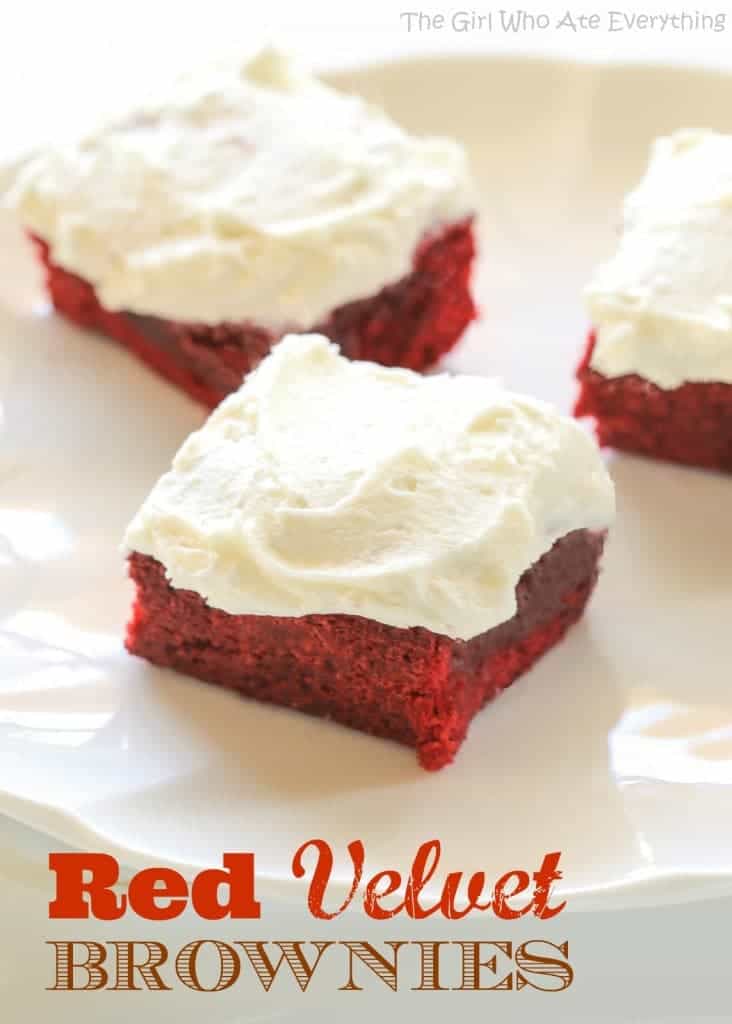
Red Velvet Brownies
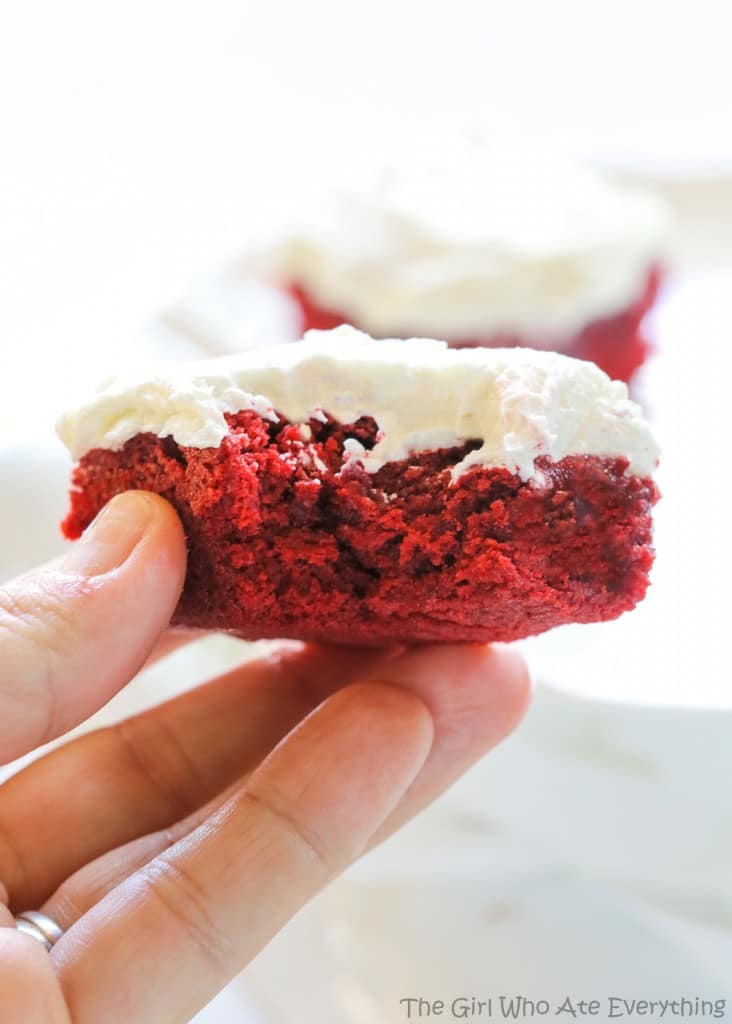
These moist Red Velvet Brownies are topped with a creamy white chocolate frosting. They’re definitely rich and decadent, but you can handle it!
I may earn commissions for purchases made through links on this post.
RED VELVET BROWNIES
Last week we did an unusual dinner date with ten of our friends. It was at restaurant by the beach in a private room in the back where they host a “Dinner in the Dark”. The room is completely dark and the waiter is the only one that can see anything with his night vision goggles.
We had NO utensils and had no idea what we were eating. The dinner had six courses and after each course the waiter would tell us what we had just ate. When your sight is limited you have to rely on your other senses and every flavor of the food was accentuated. It was delicious…and tricky to eat with only your hands. Especially the dessert course which was a slice of carrot cake and ice cream.
As I was making these red velvet brownies I wondered if I could pinpoint what these were if I had to eat them in the dark. My whole hesitation on red velvet cake in the past was that I wasn’t sure what it was supposed to taste like.
Was it vanilla cake or chocolate cake? Was it just white cake with red food coloring in it? It’s actually a vanilla cake with some cocoa in it. The cocoa gives the flavor some depth. Traditionally it has buttermilk in it but these did not.
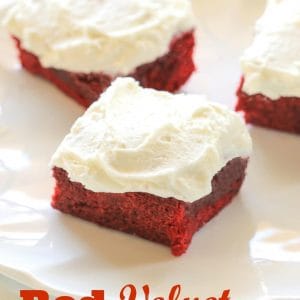
Red Velvet Brownies
Ingredients
- 1/2 cup butter, at room temperature
- 1 1/2 cups sugar
- 2 eggs
- 2 teaspoons vanilla
- 1 1/4 cups flour
- 1/4 teaspoon salt
- 3 tablespoons cocoa powder
- 2 tablespoons red food coloring
Frosting:
- 1/2 cup butter, at room temperature
- 2 1/2 cups powdered sugar
- 1 teaspoon vanilla
- 4 ounces white chocolate
- 1 -2 tablespoon milk
Instructions
- Preheat oven to 350 degrees. Spray 8 x 8 pan with Baker's Joy or lightly grease and flour it. I also line the pan with aluminum foil if I want to take the whole pan out after baking to frost it.
- In a small bowl, mix cocoa powder, food coloring and 1 teaspoon of the vanilla to form a paste. Set aside.
- With an electric mixer, cream butter and sugar till light and fluffy. Add eggs, one at a time, then add second teaspoon of vanilla. With mixer on medium, beat in cocoa paste. Add flour and salt, and mix just until combined.
- Spread in pan. Bake for 25-30 minutes, or until toothpick inserted in center comes out clean. Cool before frosting.
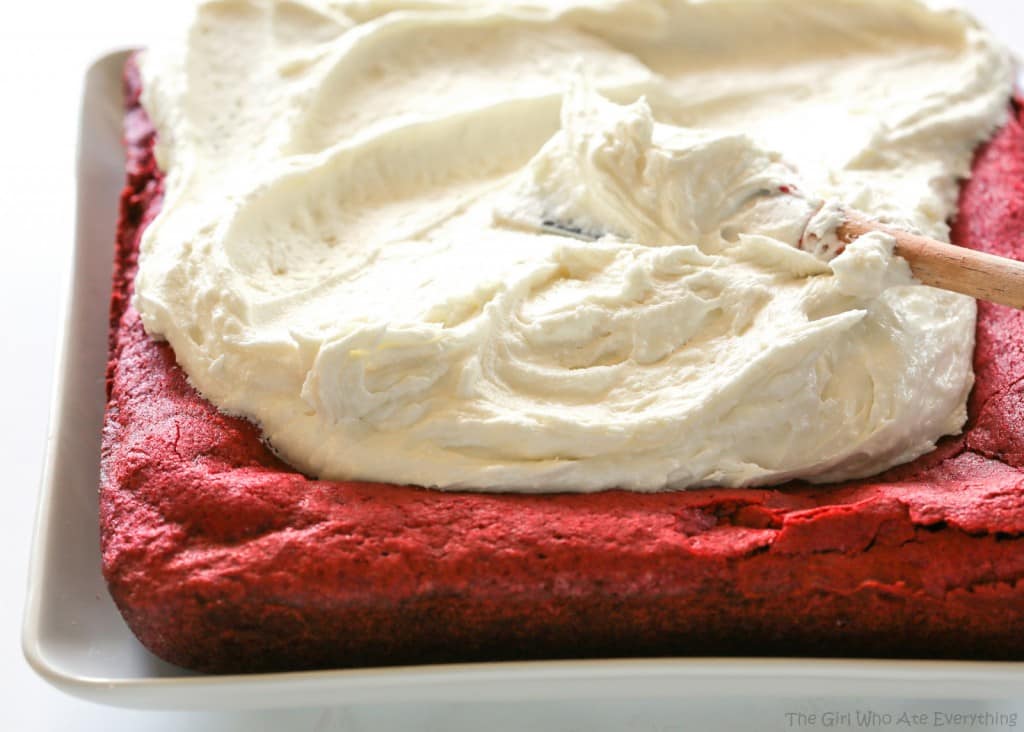
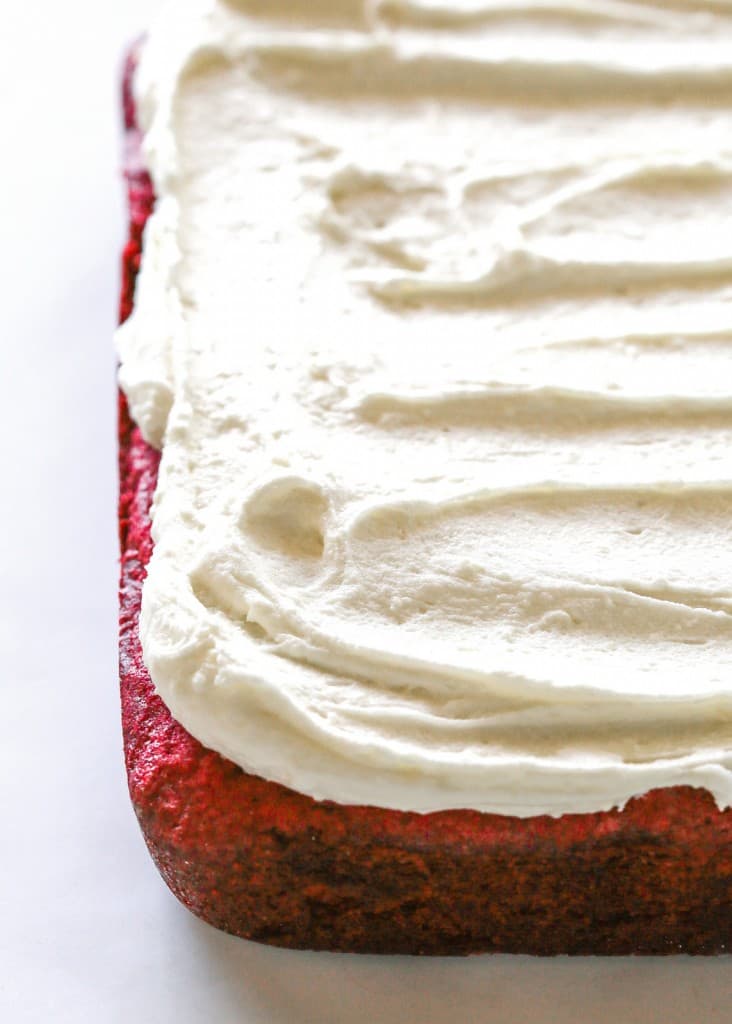
- For the frosting: Melt the white chocolate according to the instructions on your package and set it aside to cool slightly. Cream butter with mixer till fluffy and add the vanilla. Slowly mix in powdered sugar, then white chocolate. Add enough milk to reach desired consistency. Frost the top of the brownies and cut into squares.
- Serve cold or room temperature. Store in the fridge until ready to serve.
Notes
Cream Cheese Frosting: 1/4 cup butter, 4 ounces cream cheese, 2 cups powdered sugar, 1/2 teaspoon vanilla. Add milk to desired consistency. Mix together with a mixer until light and fluffy.
Source: Food.com



Um yeah this is the only recipe I use at least every other month haha it’s SO GOOD
Thank you!
Absolutely love these! Have been making them for a couple years now and it’s become a fan favourite among my friends!
Good to hear!
Greetings! I’ve made these delicious brownies several times since finding this recipe. The first two times these were ‘to die for’ and had to keep them away from me as I know I would have eaten the pan. =) seriously……..
however, as of late I’m encountering various problems and although have researched some of this, finally decided to contact you…….
First, what is the best way in making the ‘paste.’ The ingredients are added in the order you say, and yet making a paste has been challenging. Last week when making these, it wasn’t happening. Next is baking time. Recipe says 25-30 minutes. And I can usually get away with less time as I have an electric stove/oven (live in outskirts of Chicago). The creation is in an 8×8 pan and yet there’s been times I’m going as much as 32 minutes, which concerns me when recipe says 25-30 minutes. Next, last week when these brownies came out from the oven (after baking for 32 minutes), the middle sunk and my heart did too. When making brownies, I use to encounter burnt or hard edges, and in researching a piece of foil is placed in the pan before the batter goes in. This has helped greatly. However, in keeping these brownies in the oven a tad longer, I’m seeing a slight brown edge around the brownies, which doesn’t make me happy. After they cool and taking them out, they are good, and yet overall because of their sunkenness I was not comfortable in giving to a friend (although they were going to have frosting on them). I truly LOVE this recipe because I love red velvet, and this recipe is easy and has much going for it. So rather than chuck this, as I sometimes do when encountering problems, I’m reaching out to you for help! Mucho thanks!!
The paste doesn’t have to be perfect, just combined together. So there are a couple of things you can do for bake time. If you need to bake longer, cover with foil so that the edges don’t brown. If they sink in the middle they aren’t quite baked enough yet. Hope that helps!
Still making these after several years. They are a favorite in our house, but I only make them for Valentine’s Day so that they continue to be special. Thank you Christy!!!
Awesome to hear!
This is my 3rd year in a row to make these for my family. They’ve become tradition on Valentine’s Day. Great recipe.
Oh I love hearing that!
The recipe has no baking soda or baking powder. Is this correct?
Yep!
I measured the food coloring, cocoa, and vanilla extract and it was not even close to a paste. What happened?!
Shoot. I wonder what went wrong? Too liquidy or too solid?
I love that you made the frosting white chocolate….delicious!! Thanks for the yummy recipe 🙂
Thank you!
You are amazing! I love this recipe, how can I store this if I want to give as a gift and need to make it few hours earlier… let it be in the fridge? Thanks in advance!
I would store them in the fridge for sure. Good luck!
I didn’t grease my pan well, and as I was doing it I knew I wasn’t, but I went ahead like a fool. Of course they wouldn’t come out of the pan nicely, so I got creative and chunked it all in the frosting and mixed in some cream cheese and turned them into truffle balls and then dipped them in the rest of the white chocolate melted. Red velvet brownie truffles!!
Oh shoot. I’m sorry. Looks like you made the best of it.
Love the red velvet brownies! Dinner in the dark! What a great idea! Was it easy to guess what you were eating?
Not at all! I thought it would be easier!
What would happen if you added cream cheese to the chocolate frosting……too much?
Actually, I think it would be great. I would add 2-4 ounces.
I’d like to double this recipe. I’m wondering if you can.
I’m sure you can!
oh yummy! I would love these! And the Dinner in the Dark sounds so creative and a little scary to ha!
It was a little freaky at first.
If I wanted to use gel food coloring, would I need to add some other liquid to make up the 2 Tbsp of regular coloring? Maybe the buttermilk? Or, would it not matter?
Thank you!
I don’t believe it’s enough of a difference in liquid but you could add a tablespoon of milk or so if you wanted but you shouldn’t have to.
What! Dinner in the dark sounds amazing!! What a fun idea. I would pay good money to see you eat cake and ice cream with your hands, by the way. I bet the waiter with the night vision goggles totally spies on guests to laugh at how ridiculous they look 🙂 These brownies!! Amazing!
I know. I wish they sold a tape of it!
These look perfect for Valentine’s Day! I might have to bring a tray in to my office!
Kari
http://www.sweetteasweetie.com
We’ve never tried white chocolate frosting on red velvet cake and it’s about time we do! Thanks for sharing! Can’t wait!
You’re welcome!